Retaining Wall Guide
Learn how to install a VERSA-LOK retaining wall with this comprehensive guide. Tips on planning, excavation, and proper drainage for lasting results.
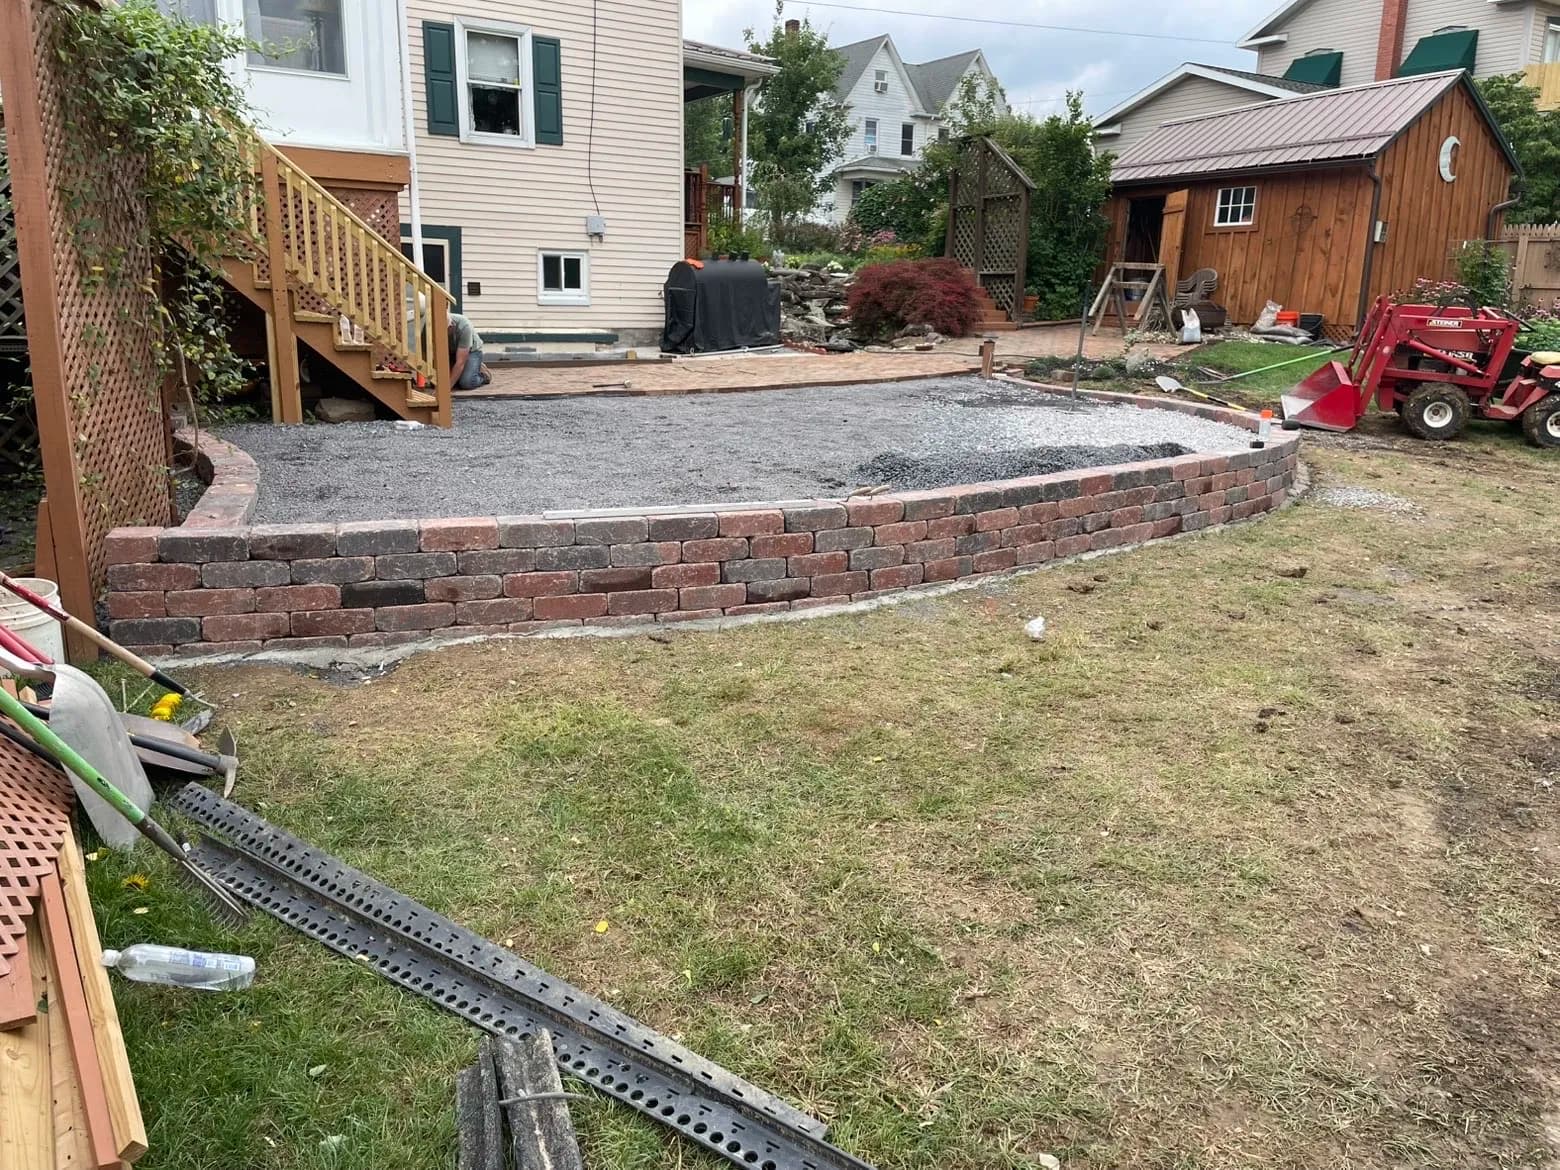
How to Install a VERSA-LOK Retaining Wall: Step-by-Step Guide
A properly installed retaining wall can add usable space, control grade changes, reduce erosion, and dramatically improve the appearance of a landscape. VERSA-LOK retaining wall systems are a popular choice for residential and commercial hardscaping because they can be used for everything from small landscape walls to larger engineered retaining structures.
However, a retaining wall is only as good as its foundation, drainage, backfill, and reinforcement. Taking shortcuts during installation can lead to settling, leaning, bulging, or drainage problems later.
Here's an overview of how a typical VERSA-LOK Standard retaining wall is installed.
1. Plan the Retaining Wall
Before excavation begins, determine the wall's location, length, height, curves, corners, finished grades, and drainage requirements.
Pay particular attention to anything that could place additional pressure on the wall, including:
Driveways and parking areas
Buildings and foundations
Steep slopes
Fences
Pools
Additional retaining walls
Heavy equipment or vehicle traffic
VERSA-LOK notes that walls supporting heavy loads or exceeding 4 feet in height require special soil reinforcement and often professionally designed plans. Local codes and permit requirements should also be checked before construction begins.
2. Excavate for the Wall
Excavate the wall area to provide room for the buried portion of the retaining wall, leveling pad, drainage aggregate, and reinforced soil zone when required.
For a typical VERSA-LOK Standard installation, the manufacturer calls for a leveling pad approximately 24 inches wide and 6 inches thick. The first course should also be embedded below finished grade by approximately one-tenth of the exposed wall height.
Remove unsuitable or loose material from the foundation area and properly compact the subgrade before constructing the base.
Don't underestimate this stage. A retaining wall built on poorly compacted or unstable soil can settle even if everything above it was installed correctly.
3. Build and Compact the Leveling Pad
Install approximately 6 inches of crushed aggregate for the leveling pad and compact it thoroughly.
The finished base needs to be level from front to back and along the length of the wall. VERSA-LOK emphasizes that getting the leveling pad and base course correct is one of the most important parts of the installation.
Spend the extra time here. Correcting a base-course problem after several courses have been installed is much more difficult than getting it right from the beginning.
4. Install the First Course of VERSA-LOK Blocks
Place the first course directly on the prepared leveling pad.
Check every block for level:
Front to back. Side to side. Block to block.
Use a string line to maintain proper alignment on straight walls. Because the split face of the block isn't perfectly uniform, VERSA-LOK recommends establishing alignment using the more consistent backs of the units.
If you're constructing a corner, start at the corner and work outward.
The first course establishes the position of everything above it, so don't rush this step.
5. Backfill and Compact the Base Course
Once the first course is properly positioned, backfill and compact soil in front of and behind the embedded base units.
For the above-grade portion of the wall, install clean, free-draining aggregate behind the blocks. VERSA-LOK specifies a minimum 12-inch depth of ¾-inch clear, free-draining angular aggregate behind the wall.
Proper drainage stone gives water a path to move downward rather than allowing hydrostatic pressure to build behind the wall.
6. Install Drainage
Drainage is one of the most important components of a retaining wall.
VERSA-LOK's Standard installation guidance calls for perforated drainpipe behind walls over 3 feet tall. The pipe is installed behind the first above-grade course on drainage aggregate and should be sloped so collected water can flow by gravity to an appropriate outlet.
The manufacturer recommends outlets at the ends of the wall or through the wall face at intervals of at least every 40 to 50 feet, with outlets positioned at low points where water can be directed safely away from the wall.
Site conditions can require additional drainage measures, so drainage should be considered during design—not after the wall has already been built.
7. Install Additional Courses
Before installing the next course, clean dirt and loose aggregate from the tops of the blocks.
VERSA-LOK Standard units use pins to connect successive courses. For a typical setback wall, the units are set back approximately ¾ inch per course. Two pins are installed in the appropriate holes so they engage the receiving slots of the blocks below.
Continue installing one course at a time while checking alignment and maintaining the intended setback.
8. Backfill and Compact as You Build
Don't build the entire wall face and then try to backfill everything at the end.
Backfill and compaction should progress along with the wall.
Place the drainage aggregate immediately behind the blocks and suitable backfill farther behind it. Compact the material in controlled lifts as construction progresses.
VERSA-LOK's installation training recommends compacting backfill in lifts of 6 inches or less. Proper compaction helps minimize future settlement and movement.
Be careful with heavy compaction equipment close to the wall face. For reinforced walls, VERSA-LOK specifies hand-operated compaction equipment within 3 feet of the wall face.
9. Install Geogrid When Required
Not every retaining wall can safely function as a simple gravity wall.
Wall height, soil conditions, slopes, and loads behind the wall can require geogrid reinforcement. VERSA-LOK states that geogrid must be used for walls taller than 4 feet or walls subject to certain slopes or loads. The required grid strength, lengths, elevations, and number of layers depend on the specific wall design and site conditions.
When geogrid is required, install it according to the engineered wall design.
The grid is generally placed over a specified course and extended perpendicular to the wall into the compacted soil behind it. For VERSA-LOK Standard, the front of the grid is positioned approximately 1 inch behind the wall face. The next course is then installed and pinned through the geogrid.
Pull the grid taut before placing and compacting additional backfill.
Never guess at geogrid lengths or spacing on an engineered retaining wall.
10. Continue Building to Final Height
Repeat the process as you work upward:
Install blocks, pin the courses, add drainage aggregate, place backfill, compact it,