Paver Patio Installation
Discover steps and tips for installing a durable paver patio using R.I. Lampus products.
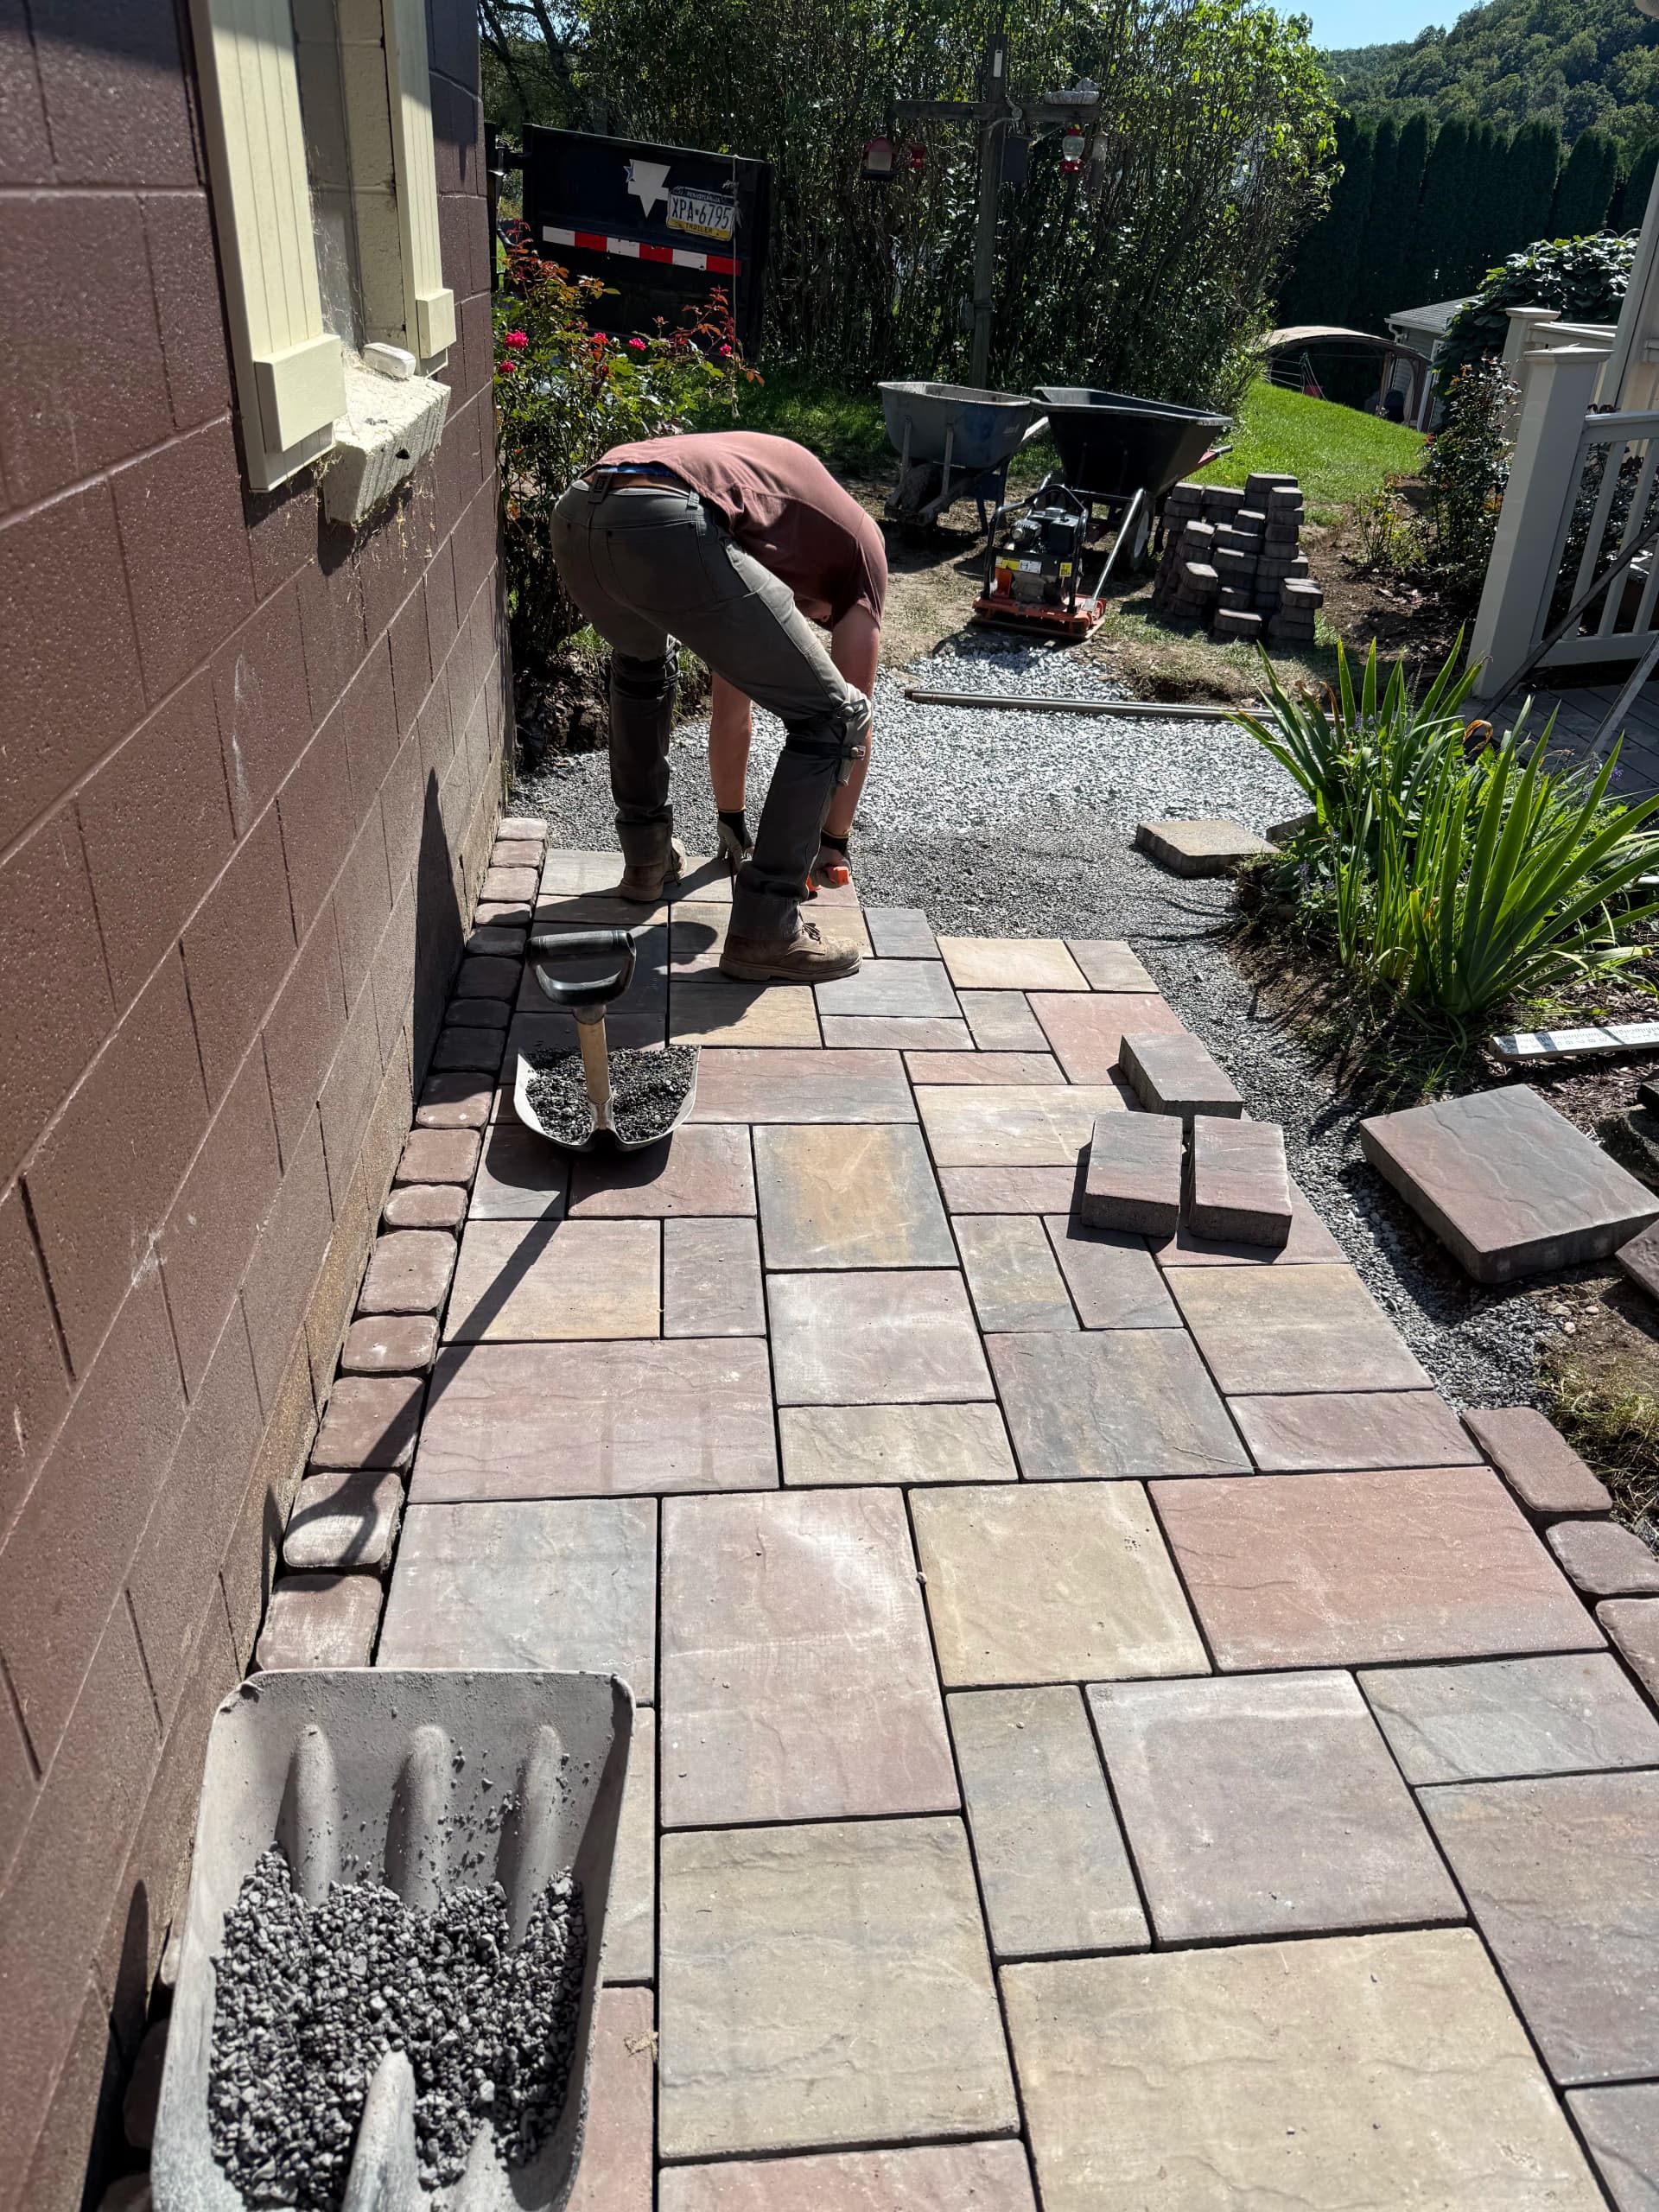
How to Install an R.I. Lampus Paver Walkway: A Step-by-Step Guide
A paver walkway can transform an ordinary path into an attractive, durable feature that adds character and functionality to your outdoor space. R.I. Lampus concrete pavers are available in a variety of shapes, colors, textures, and patterns, making them a versatile choice for walkways, patios, and other hardscape projects.
While the exact installation requirements can vary depending on the paver style, site conditions, and climate, the basic process involves careful excavation, a properly compacted base, accurate paver placement, and secure edge restraints.
Plan Your Walkway
Start by deciding where the walkway will run and how wide you want it to be. Use stakes and mason's string, marking paint, or a garden hose to outline the path.
Consider how the walkway will connect to driveways, patios, steps, doors, and landscaping. It's also important to plan for drainage. The finished surface should generally slope slightly away from buildings so water doesn't collect against the foundation.
Before digging, have underground utilities located and check whether your municipality or homeowners association has requirements that apply to the project.
Excavate the Area
Remove grass, topsoil, roots, and other unsuitable material from the marked walkway area. You need enough depth for the pavers, bedding layer, and compacted aggregate base.
The required excavation depth depends on the paver thickness, soil conditions, drainage, climate, and expected loads. Avoid simply placing pavers over existing soil or grass. A properly prepared base is one of the most important factors in preventing movement and uneven settling.
Once excavation is complete, establish the final grade and compact the subgrade.
Install the Aggregate Base
Place an appropriate crushed aggregate base over the prepared subgrade. Rather than installing all the material at once, spread it in manageable lifts and compact each layer thoroughly with a plate compactor.
Continue adding and compacting material until you reach the required base elevation.
Pay close attention to grade during this stage. The base should follow the intended slope of the finished walkway while remaining smooth and consistent.
Add the Bedding Layer
After the base has been compacted, install the specified bedding material over it. Screed the material to create a smooth, even setting bed for the pavers.
Once the bedding layer has been screeded, avoid walking directly on it. Disturbing the surface can create low spots that may become visible after the pavers are installed.
Lay the R.I. Lampus Pavers
Begin laying the pavers from a straight, established edge whenever possible. Place each unit carefully onto the bedding layer rather than dragging it across the surface.
Frequently check your alignment with a string line. If you're installing a repeating pattern, periodically step back and make sure the pattern remains consistent.
For projects using pavers with natural-looking color variation, consider selecting units from multiple pallets or sections of a pallet as you work. Blending can help create a more balanced appearance across the finished walkway.
Make the Necessary Cuts
Most walkways require cuts around curves, borders, steps, structures, or other obstacles. Measure carefully and use equipment appropriate for cutting concrete pavers.
Avoid installing very small pieces whenever the layout can reasonably be adjusted to eliminate them. Thoughtful cuts generally produce a cleaner-looking and more durable finished edge.
Always follow the cutting equipment manufacturer's safety instructions and use appropriate personal protective equipment.
Install Edge Restraints
Pavers need proper edge restraint to help keep the field of pavers from spreading or shifting over time.
Install the appropriate restraint system along exposed sides of the walkway according to the product and project specifications. Secure edges are especially important in areas exposed to freeze-thaw cycles, foot traffic, landscaping equipment, and seasonal ground movement.
Compact the Pavers
Once the pavers and edge restraints are installed, compact the paved surface using the appropriate equipment and procedures for the specific paver product.
Protect textured or finished surfaces when required. Some paver styles may require special compaction procedures or protective equipment to prevent scratching, chipping, or other surface damage.
Fill the Joints
The final installation stage is filling the joints between the pavers with the specified jointing material.
Spread the material over the surface and work it thoroughly into the joints. Additional compaction and sweeping may be necessary to completely fill them. If you're using polymeric jointing sand, follow the sand manufacturer's installation and activation instructions carefully.
Clean excess material from the paver surface before completing the project.
Inspect and Clean the Finished Walkway
Walk the entire project and look for uneven units, incomplete joints, loose edges, or drainage problems. Make any necessary corrections before putting the walkway into regular use.
Once everything is complete, clean the surface according to the paver manufacturer's recommendations.
A Great Walkway Starts Below the Surface
The beauty of a paver walkway may be what you notice first, but its long-term performance depends heavily on what's underneath it. Proper excavation, drainage, base preparation, compaction, bedding, edge restraint, and joint filling all contribute to a walkway that stays attractive and functional.
R.I. Lampus pavers can provide plenty of options for creating a walkway that complements both traditional and contemporary landscapes. Before beginning your project, consult the current R.I. Lampus specifications for your particular paver and follow applicable industry standards and local requirements.
Whether you're creating a short garden path or a prominent front entrance, taking the time to build the foundation correctly can make the difference between a walkway that needs frequent repairs and one designed to perform for years.